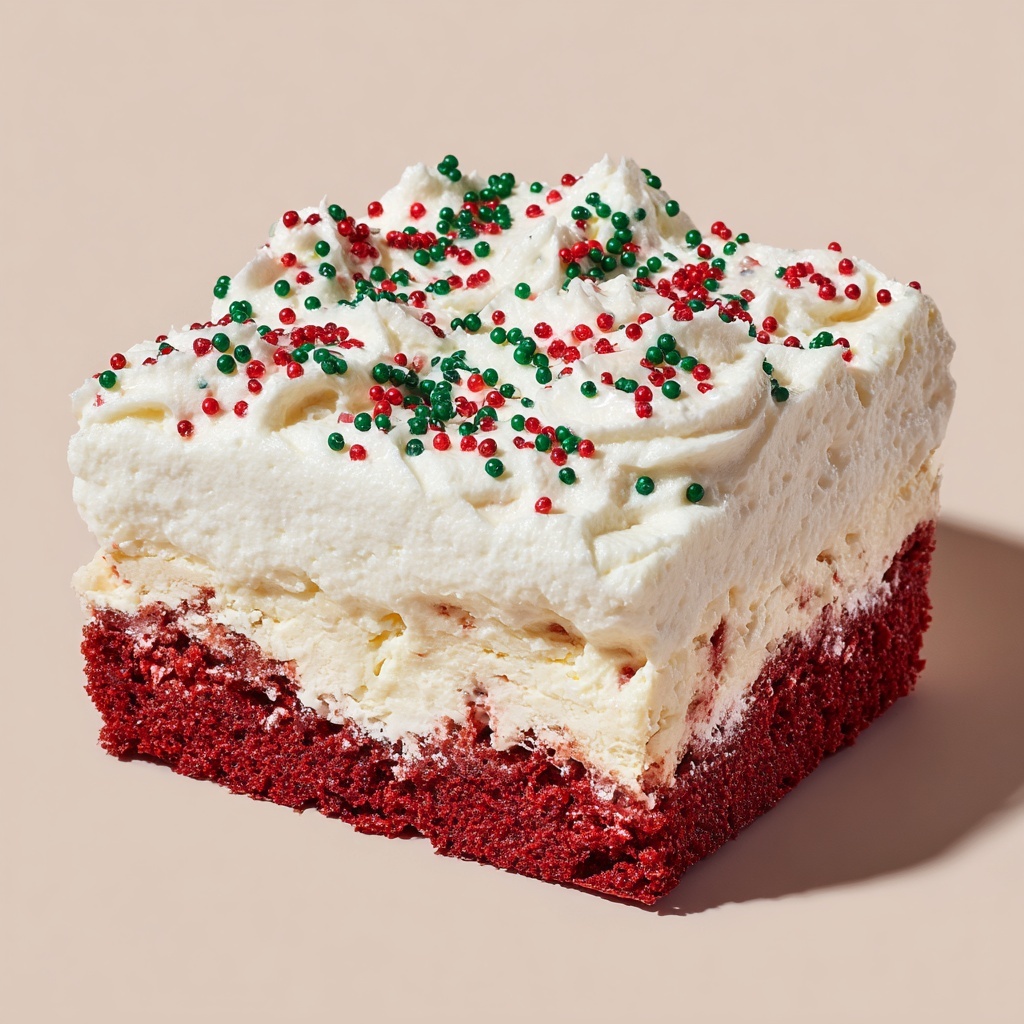
If you’re looking for a festive, delightful dessert that’s sure to impress at any holiday gathering, this Christmas Red Velvet Poke Cake Recipe is absolutely perfect. It brings together the rich, velvety flavor of a classic red velvet cake with a luscious, creamy cheesecake pudding filling that soaks into every bite. The magic lies in poking holes into the cake so the pudding adds moisture and a burst of flavor, creating a sensationally soft, indulgent treat topped with fluffy whipped topping and colorful sprinkles that scream holiday cheer. Whether you’re baking for a crowd or just treating yourself, this Christmas Red Velvet Poke Cake Recipe is an absolute must-try that will quickly become a new seasonal favorite.
Ingredients You’ll Need
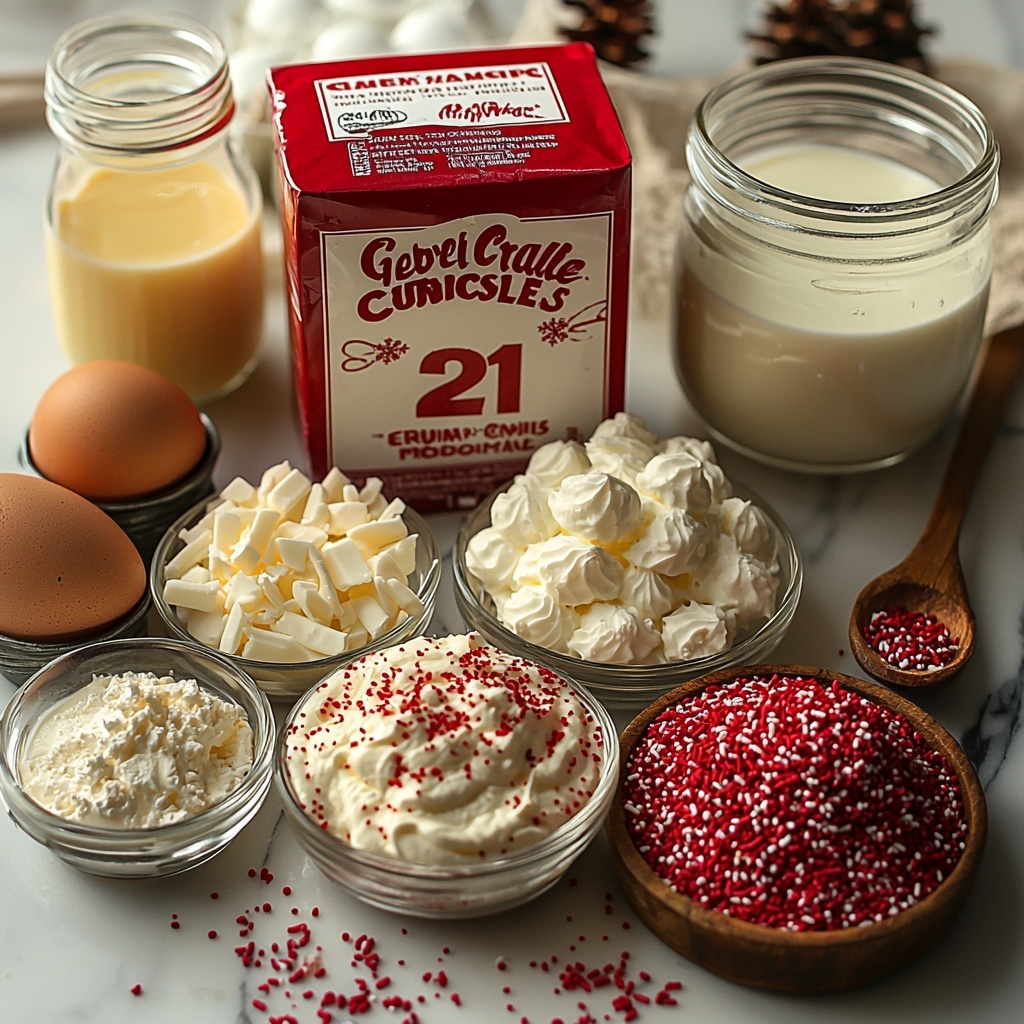
Gathering simple, everyday ingredients is the best part about this Christmas Red Velvet Poke Cake Recipe. Each component plays a crucial role, from the vibrant red velvet cake base to the creamy pudding that seeps into every bite, giving the cake its signature moistness and luscious texture.
- Red velvet cake mix: Provides the rich, tender cake with the iconic red hue and subtle cocoa flavor.
- Eggs, oil, and water (as per box instructions): These classic wet ingredients bind the cake and keep it moist.
- Instant cheesecake or vanilla pudding mix (3.4 oz package): Adds a creamy, tangy filling that perks up the whole dessert.
- Cold milk (2 cups): Essential for whisking the pudding mix to the perfect consistency.
- Whipped topping (8 oz, thawed): Lightens and sweetens the cake’s finish, lending a fluffy texture.
- Red and green sprinkles: Bring festive color and a fun crunch to the topping.
- Optional white chocolate curls or crushed peppermint: These extras make your cake look stunning and add delightful holiday flavors.
How to Make Christmas Red Velvet Poke Cake Recipe
Step 1: Prepare and bake the cake
Start by preheating your oven to 350°F (175°C) and greasing a 9×13-inch baking dish with nonstick spray. Follow the instructions on the red velvet cake mix box carefully, combining the cake mix with the eggs, oil, and water to create a smooth batter. Pour this into your prepared pan and bake according to the box’s baking time until a toothpick inserted in the center comes out clean. Once out of the oven, allow the cake to cool for 5 to 10 minutes—it will be warm but not hot, just right for the next step.
Step 2: Poke the cake and prepare the pudding
Take the handle of a wooden spoon and gently poke holes all over the surface of the cake about one inch apart. This step is key to let the pudding mixture seep into the cake, keeping it moist and flavorful. In a medium bowl, whisk together the instant cheesecake or vanilla pudding mix with the 2 cups of cold milk until it thickens slightly, which usually takes about two minutes.
Step 3: Pour pudding over the cake
Slowly pour the pudding evenly over the entire cake, making sure it fills all the holes you just poked. Use a spatula to smooth the top, spreading it gently but completely so every bite is infused with that creamy goodness. Then pop the cake into the refrigerator to chill for at least two hours. This chilling time is crucial—it allows the pudding to set, creating that melt-in-your-mouth experience that makes this Christmas Red Velvet Poke Cake Recipe so special.
Step 4: Add whipped topping and garnish
Once your cake has chilled and the pudding is set, spread the thawed whipped topping evenly over the surface. This layer provides a light and fluffy contrast to the denser cake beneath. Finish off your holiday masterpiece by sprinkling red and green festive sprinkles on top, and if you’re feeling extra festive, add white chocolate curls or crushed peppermint for a beautiful and flavorful touch.
How to Serve Christmas Red Velvet Poke Cake Recipe
Garnishes
Garnishing your Christmas Red Velvet Poke Cake Recipe is not only about looks—it elevates the overall flavor experience. Red and green sprinkles provide a vibrant, cheerful pop, while white chocolate curls add a subtle sweetness and elegance. Crushed peppermint offers a refreshing holiday twist with a bit of crunch, making your cake irresistible both to the eyes and palate.
Side Dishes
This poke cake is a decadent dessert that pairs beautifully with lighter, complementary sides like a simple vanilla bean ice cream or a dollop of fresh whipped cream. For a cozy holiday vibe, serve alongside spiced hot cocoa or even a cup of freshly brewed coffee to balance the rich sweetness of the cake.
Creative Ways to Present
Presentation is half the fun! For parties, consider slicing the Christmas Red Velvet Poke Cake Recipe into bite-sized squares and serving on festive plates or cupcake liners. You can also serve chilled in individual clear dessert cups layered with additional whipped topping and garnishes for a pretty layered look. Adding a sprig of fresh mint or a dusting of powdered sugar immediately before serving can also add a festive flair.
Make Ahead and Storage
Storing Leftovers
This cake actually tastes great the next day when flavors have had time to meld. Store leftovers tightly covered in the refrigerator, either with plastic wrap or in an airtight container, to keep the whipped topping from drying out and to preserve the pudding’s moisture.
Freezing
If you want to make this Christmas Red Velvet Poke Cake Recipe ahead of time or save some for later, you can freeze it. Wrap the cake securely in plastic wrap and then in aluminum foil, or place it in a freezer-safe container. Freeze for up to two months. When ready to enjoy, thaw overnight in the refrigerator to keep that perfect creamy texture.
Reheating
Poke cake is best served chilled, so reheating is generally not recommended. If you prefer a slightly less cool dessert, take the cake out of the fridge and let it stand at room temperature for 20 to 30 minutes before serving to soften the whipped topping slightly.
FAQs
Can I use homemade red velvet cake instead of the boxed mix?
Absolutely! Using a homemade red velvet cake recipe will work perfectly. Just make sure your cake is baked in a similar-sized pan and cooled enough before poking holes and adding the pudding mixture.
What type of pudding mix works best for this recipe?
Instant cheesecake or vanilla pudding mixes are ideal choices for this Christmas Red Velvet Poke Cake Recipe because they add a creamy texture and subtle tanginess that complements the red velvet flavor beautifully.
Can I substitute whipped topping with cream cheese frosting?
You can, but whipped topping keeps the cake light and airy. Cream cheese frosting will add richness and density, so it’s up to your preference. If using cream cheese frosting, spread it after chilling the pudding layer.
Is it necessary to chill the cake for at least 2 hours?
Yes, chilling allows the pudding to set and soak into the cake, creating that signature moistness. Without sufficient time, the textures won’t meld as beautifully.
Can I make this cake gluten-free?
To make the Christmas Red Velvet Poke Cake Recipe gluten-free, use a gluten-free red velvet cake mix and verify that your pudding mix and other ingredients are gluten-free as well.
Final Thoughts
This Christmas Red Velvet Poke Cake Recipe is such an easy way to bring a touch of holiday magic to your dessert table. It combines festive colors, rich flavors, and comforting textures in a cake that everyone will adore. If you’re eager to impress your friends and family with a show-stopping holiday treat, this recipe is your new go-to. Trust me, once you try it, it will become a beloved tradition year after year.
Print
Christmas Red Velvet Poke Cake Recipe
- Prep Time: 15 minutes
- Cook Time: 30 minutes
- Total Time: 2 hours 45 minutes
- Yield: 12 servings
- Category: Dessert
- Method: Baking
- Cuisine: American
- Diet: Vegetarian
Description
This festive Christmas Red Velvet Poke Cake combines the rich, classic flavor of red velvet cake with a creamy cheesecake pudding filling, topped with fluffy whipped topping and colorful sprinkles for a delightful holiday treat. Perfect for celebrations, this easy-to-make poke cake is moist, flavorful, and visually stunning.
Ingredients
Cake
- 1 box red velvet cake mix (plus eggs, oil, and water as required on the box)
Filling
- 1 package (3.4 oz) instant cheesecake or vanilla pudding mix
- 2 cups cold milk
Topping
- 1 container (8 oz) whipped topping, thawed
- Red and green sprinkles for garnish
- Optional: white chocolate curls or crushed peppermint for topping
Instructions
- Preheat and Prepare: Preheat your oven to 350°F (175°C) and grease a 9×13-inch baking dish with nonstick spray to prevent sticking.
- Make the Cake Batter: Prepare the red velvet cake mix according to the package instructions, usually by mixing the cake mix with the required eggs, oil, and water.
- Bake the Cake: Pour the batter into the prepared baking dish and bake as directed on the package, typically around 30 minutes. Remove the cake from the oven and allow it to cool for 5–10 minutes.
- Poke the Cake: Using the handle of a wooden spoon, poke holes evenly across the surface of the cake about 1 inch apart to create pockets for the pudding filling.
- Prepare the Pudding: In a medium bowl, whisk together the instant cheesecake or vanilla pudding mix with 2 cups of cold milk. Whisk until the mixture begins to thicken, approximately 2 minutes.
- Fill the Cake: Pour the pudding mixture evenly over the cake, allowing it to seep into the holes. Use a spatula to smooth the surface evenly over the cake.
- Chill: Refrigerate the cake for at least 2 hours to let the pudding set and the flavors meld.
- Add the Topping: Once chilled, spread the thawed whipped topping evenly over the cake surface.
- Garnish: Decorate with red and green sprinkles and optionally add white chocolate curls or crushed peppermint for a festive finish.
- Serve: Slice and serve chilled for a delicious holiday dessert.
Notes
- For extra richness, drizzle sweetened condensed milk over the cake before pouring the pudding mixture.
- This dessert can be prepared a day in advance and stored in the refrigerator, making it convenient for holiday gatherings.


