
If you’ve ever dreamed of mastering the perfect comfort food, then this Crispy Buttermilk Chicken: Irresistibly Crunchy & Juicy Recipe is exactly what you need in your kitchen repertoire. It’s a magical combination of crunchy golden crust and tender, juicy chicken inside — guaranteed to satisfy those cravings in every bite. Whether it’s for a cozy weeknight dinner or impressing guests, this recipe delivers that classic fried chicken vibe with a simple twist that never fails.

Ingredients You’ll Need
These handful of simple ingredients are the stars of the show, each adding its own special touch to create that unbeatable texture and flavor. From the tangy buttermilk that tenderizes the chicken to the perfectly seasoned flour that forms the ultra-crispy crust, every element is essential for pulling off this dish flawlessly.
- 1 cup buttermilk: This is the secret to juicy, tender chicken—if you don’t have buttermilk, yogurt or milk with lemon juice works beautifully too.
- 1 piece chicken breast (approx. 170g): Choose breasts for lean meat or thighs if you prefer a richer, more flavorful bite.
- 2 cups all-purpose flour: The coating that crisps up perfectly; swap for gluten-free flour if needed without sacrificing crunch.
- Spices to taste: Salt, pepper, and garlic powder are basics, but a pinch of paprika adds a lovely warmth and color.
- Cooking oil (vegetable or peanut): Chosen for high smoking points that ensure crispy frying without burning.
How to Make Crispy Buttermilk Chicken: Irresistibly Crunchy & Juicy Recipe
Step 1: Marinate for Maximum Juiciness
Start by soaking your chicken breast in the buttermilk. This isn’t just soaking — it’s infusing the meat with moisture and tenderizing it from the inside out. Give it at least 15 minutes; the longer, the better if time allows, as it locks in juiciness that will shine through after frying.
Step 2: Prepare Your Seasoned Flour Mixture
While your chicken is marinating, mix your all-purpose flour with salt, pepper, garlic powder, and any other spices you fancy. This seasoned flour is what will give your chicken that crave-worthy crunchy crust with bursts of flavor in every bite.
Step 3: Coat with Love and Care
Once the marinating is done, remove the chicken and let the excess buttermilk drip off before dredging it generously in the flour mixture. Make sure every inch is coated for that perfect crispy exterior that’s just begging to be bitten into.
Step 4: Heat and Fry to Golden Perfection
Heat a generous amount of your chosen cooking oil in a large skillet over medium-high heat until it’s shimmering. Carefully lay the coated chicken into the oil — sizzling sounds are music to your ears here. Fry about 4 to 6 minutes on each side, allowing the exterior to turn golden brown and irresistibly crunchy while cooking the meat through.
Step 5: Drain and Rest Before Serving
After frying, remove your Crispy Buttermilk Chicken and set it on a plate lined with paper towels. Letting it rest for a few moments drains excess oil and keeps that crust crispy. Now your chicken is ready to be enjoyed!
How to Serve Crispy Buttermilk Chicken: Irresistibly Crunchy & Juicy Recipe
Garnishes
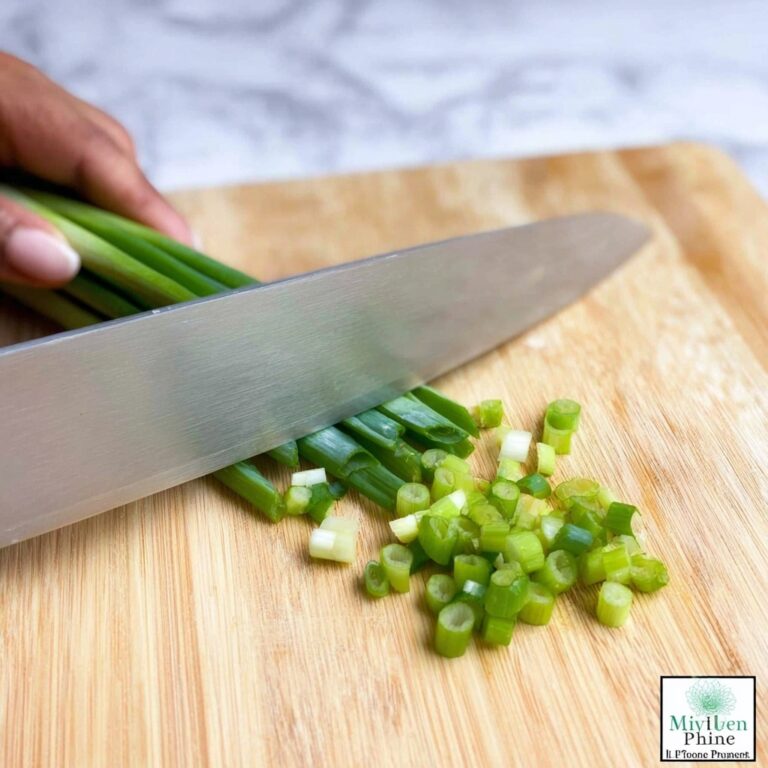
For an extra pop of color and a fresh touch, sprinkle chopped parsley or chives over the chicken. A wedge of lemon on the side also brightens the flavor beautifully, cutting through some of the richness and enhancing the juiciness inside.
Side Dishes
This chicken pairs wonderfully with comfort sides like creamy mashed potatoes, crisp coleslaw, or roasted vegetables. Even a simple green salad can balance the richness perfectly and add a refreshing crunch of its own.
Creative Ways to Present
Try serving your Crispy Buttermilk Chicken on toasted buns with pickles and a slather of homemade mayo for a delicious sandwich twist. You can also slice it thinly and toss it into a salad or wrap for a delightful lunch option that’s still packed with flavor and texture.
Make Ahead and Storage
Storing Leftovers
After the meal, wrap any leftover chicken tightly in foil or place it in an airtight container. It will keep well in the fridge for up to 3 days without losing much of that crispy charm if stored properly.
Freezing
If you want to freeze your leftover Crispy Buttermilk Chicken, allow it to cool completely before wrapping in freezer-safe packaging. It can be kept frozen for up to 2 months — perfect for a quick, satisfying meal later on.
Reheating
To bring back that crispy crust when reheating, avoid the microwave if possible. Instead, reheat in a preheated oven at 375°F (190°C) for about 10-15 minutes. This method refreshes the crunch without drying out the chicken, keeping it juicy and delicious like when freshly made.
FAQs
Can I use chicken thighs instead of breasts?
Absolutely! Chicken thighs offer a richer flavor and even juicier texture, making them a fantastic alternative if you prefer dark meat. Just adjust cooking time slightly to ensure they’re cooked through.
What if I don’t have buttermilk?
No worries! You can easily make a buttermilk substitute by adding one tablespoon of lemon juice or white vinegar to a cup of milk and letting it sit for 5-10 minutes. Yogurt is another great option for tenderizing.
How do I keep the coating from falling off during frying?
Make sure to shake off any excess buttermilk before dredging in flour, and press the flour mixture firmly onto the chicken. Also, avoid overcrowding the pan which can cause the coating to steam rather than fry.
Can I bake this chicken instead of frying?
While frying is ideal for maximum crunch, baking at 425°F (220°C) on a wire rack for 25-30 minutes can give you a tasty, lighter version. Just coat the chicken well and spray lightly with oil before baking.
Is this recipe suitable for gluten-free diets?
Yes! Simply swap the all-purpose flour for a gluten-free flour blend. The chicken remains just as crispy and delicious without gluten.
Final Thoughts
There’s truly nothing like a homemade Crispy Buttermilk Chicken: Irresistibly Crunchy & Juicy Recipe to bring joy to your table. It’s straightforward enough for any day but special enough to impress. Give it a try and watch it become your go-to comfort food recipe—you’re going to fall in love with every crunchy, juicy bite!
Print
Crispy Buttermilk Chicken: Irresistibly Crunchy & Juicy Recipe
- Prep Time: 15 minutes
- Cook Time: 12 minutes
- Total Time: 27 minutes
- Yield: 4 servings
- Category: Main Course
- Method: Frying
- Cuisine: American
Description
This Crispy Buttermilk Chicken recipe delivers irresistibly crunchy and juicy chicken breasts, marinated in tangy buttermilk and coated with seasoned flour for a perfectly golden, crispy exterior. Ideal for a quick and satisfying meal, this stovetop-fried chicken pairs wonderfully with your favorite sides.
Ingredients
For the Marinade
- 1 cup buttermilk (Can substitute with yogurt or milk mixed with lemon juice)
- 1 piece chicken breast (Approx. 170g; thighs can be used for a richer flavor)
For the Coating
- 2 cups all-purpose flour (Use gluten-free flour for a gluten-free option)
- Salt, to taste
- Black pepper, to taste
- Garlic powder, to taste
- Paprika, optional, to taste
For Frying
- Cooking oil, as needed (vegetable or peanut oil recommended)
Instructions
- Marinate the Chicken: Begin by soaking your chicken breast in buttermilk for at least 15 minutes to tenderize and infuse flavor.
- Prepare the Coating: While the chicken marinates, mix the all-purpose flour and spices—salt, pepper, garlic powder, and optional paprika—in a large bowl until evenly combined.
- Coat the Chicken: Remove the marinated chicken from the buttermilk, allowing excess to drip off, then dredge it thoroughly in the seasoned flour mixture ensuring an even coating.
- Heat the Oil: In a large skillet, heat enough cooking oil over medium-high heat until it starts shimmering, indicating it’s ready for frying.
- Fry the Chicken: Carefully place the coated chicken breast into the hot oil and fry for approximately 4-6 minutes on each side until the exterior is golden brown and crispy and the chicken is cooked through.
- Drain Excess Oil: Once fried, remove the chicken from the skillet and place it on a plate lined with paper towels to drain any excess oil.
- Serve: Serve your Crispy Buttermilk Chicken immediately while hot for the best texture and flavor.
Notes
- Marinating chicken in buttermilk helps tenderize and adds moisture for juicy results.
- You can substitute chicken thighs for a richer flavor and more tenderness.
- Adjust seasoning in the flour mixture to suit your taste; adding paprika gives a smoky depth.
- Ensure the oil is hot enough before frying to get a crispy coating without absorbing excess oil.
- Use a thermometer to cook chicken to an internal temperature of 165°F (74°C) for food safety.
